Much less expensive version of the Pottery Barn headboard I love below.
I used the measurements for the Pottery Barn headboard as a model.
Since I am not the best with power tools, as in I almost drilled into concrete, the hubs assisted in cutting the plywood! He did a fantastic job!
Once the plywood was cut, I used two additional pieces to make legs for the bottom I made sure to measure the height needed for the basic metal bedframe we have.
Then I covered the wood with foam used from a mattress pad. I did research prior and found this was the cheapest way to cover the headboard. Apparently foam can be expensive. I found this method worked very well and made it easy. I used the staple gum to hold the foam in place.
Next, came the batting, which I also stapled. Make sure to pull the batting tight to make the sides even. This is also where you can smooth out imperfections in the shape of the wood or foam.
Finally, I wrapped the headboard in my fabric, which was dropcloth found on sale at Big Lots for $7. The dropcloth has imperfections but is actually very soft. I went to a few stores before deciding to purchase this dropcloth. It seemed to be closest to the color that I wanted, to give the headboard the feel and look of linen but at a much better price!
Here is the finished product and the progress I have made on the guest bedroom! Crazy how much of a statement a headboard can make. This room was very plain and bland before.
The color of the headboard also complements other pieces from the room and gives
the room a warmer feel.
The sconce is an older piece repainted with jade spray paint but originally from World Market. The ruffle shams are from J.C. Penny. And, the toile blanket and shams as well as the pillow and plush blanket are all from Marshalls/T.J. Maxx.
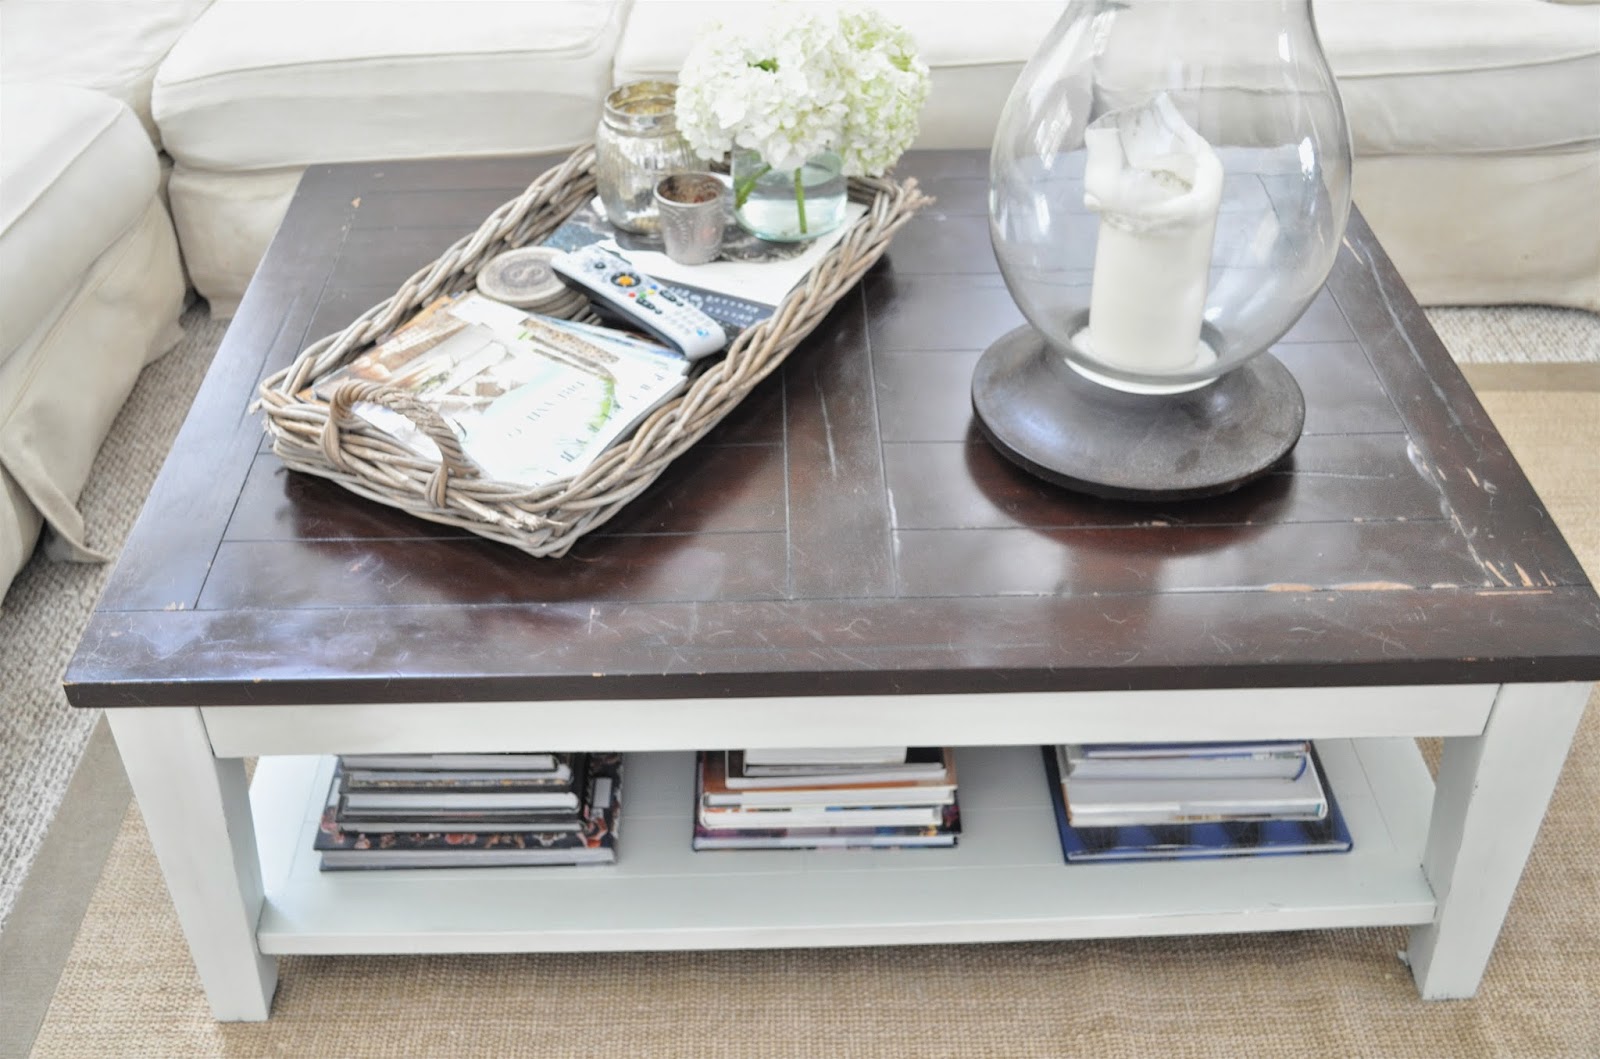
I used leftover paint for the the bottom and used Restore-A-Finish for the top. The paint color is Plantation from Olympic but I matched it in Behr paint.
This was my first time using Restore-A-Finish. It helped fill some scratches and even out the finish, but I know at some point I will need to actually sand and refinish the top. It seems to be more of a temporary fix but works for now!
{before}
Our coffee table just seemed too stark with all of our neutral tones, as you can see above!
The top still has imperfections, but it helps give the table the distressed rustic look that I'm always going for!